|
| |
| |
| | | |
| | |
| Hey , how’s it going? I hope you had a great weekend! I sold my VIVE Pro VR headset and bought an Oculus Quest 2, so I spent most of my Saturday and Sunday setting it up and playing with Gravity Sketch and the public beta of Adobe 3D Modeler... So, very exciting things to show you soon. I also tried the Moss game in VR and it is beautiful!
Anyway, let’s get into today’s email which is full of cool stuff and updates, these are the highlights (warning... long email):
- ZBrush comic shader tweaks!
- We’re getting closer to the WORKSHOP!!! (a few seats left)
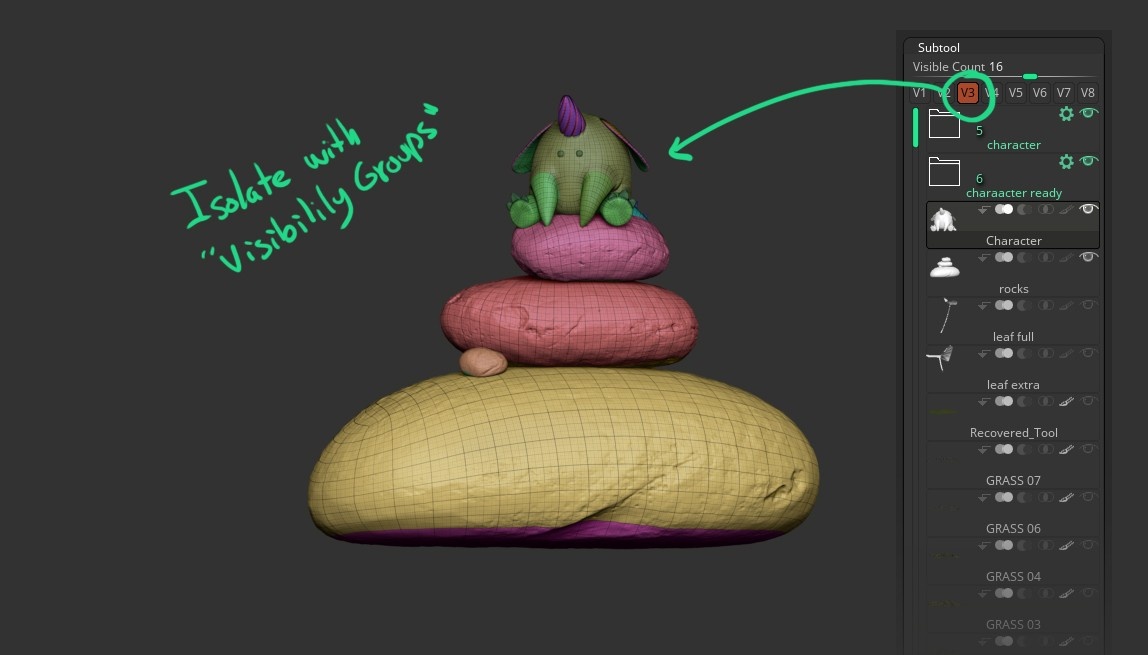
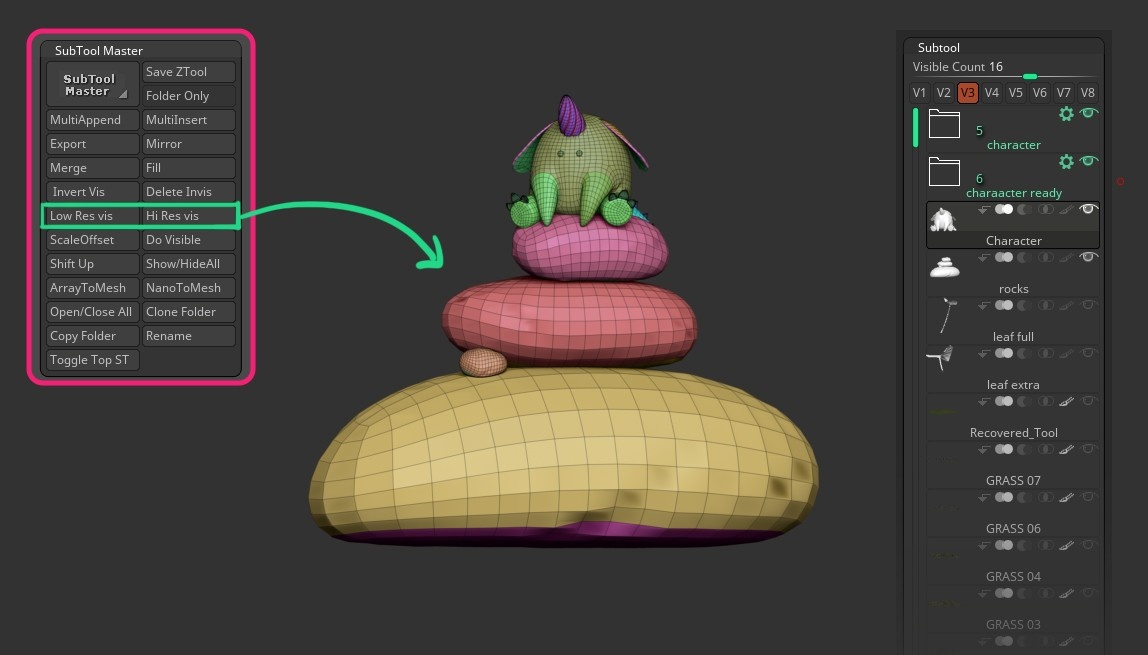
- Today’s tip on productivity with ZBrush subtools (dimming, all low visible, visibility groups)
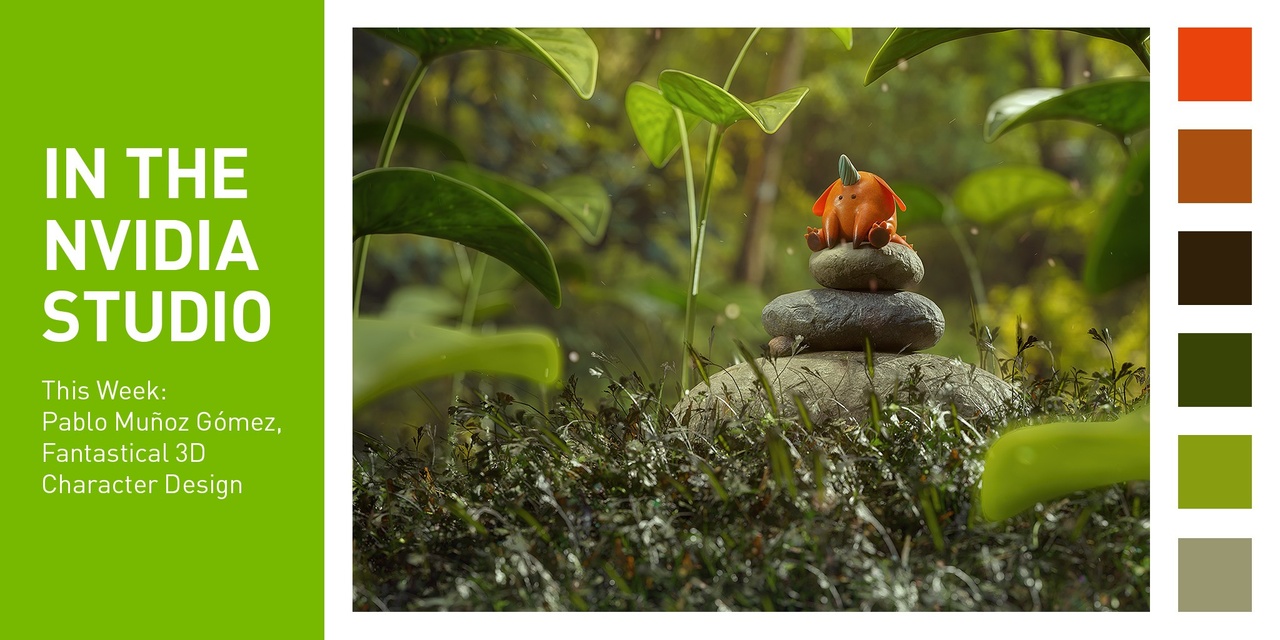
- Brand new video tutorial in collaboration with NVIDIA
- A little update to my ArtStation page ;)
ZBrush comic shader tweaks!
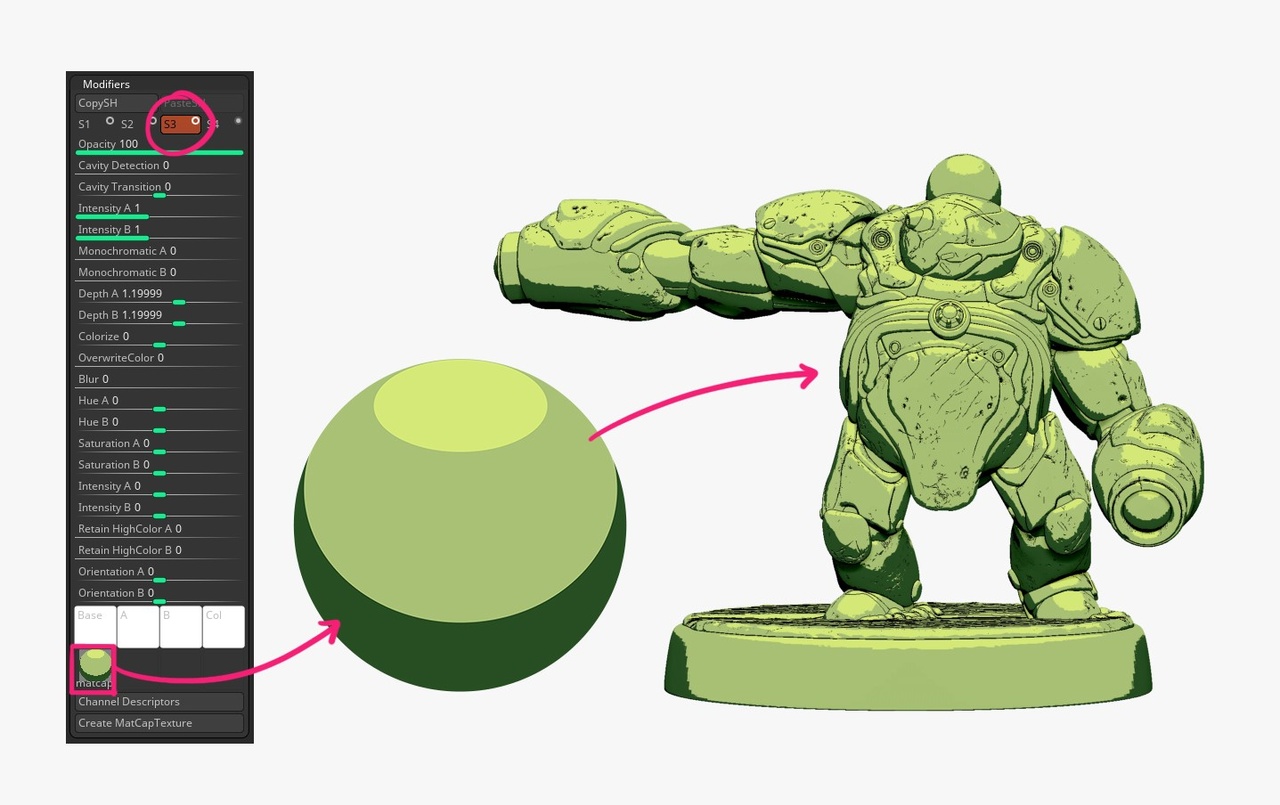
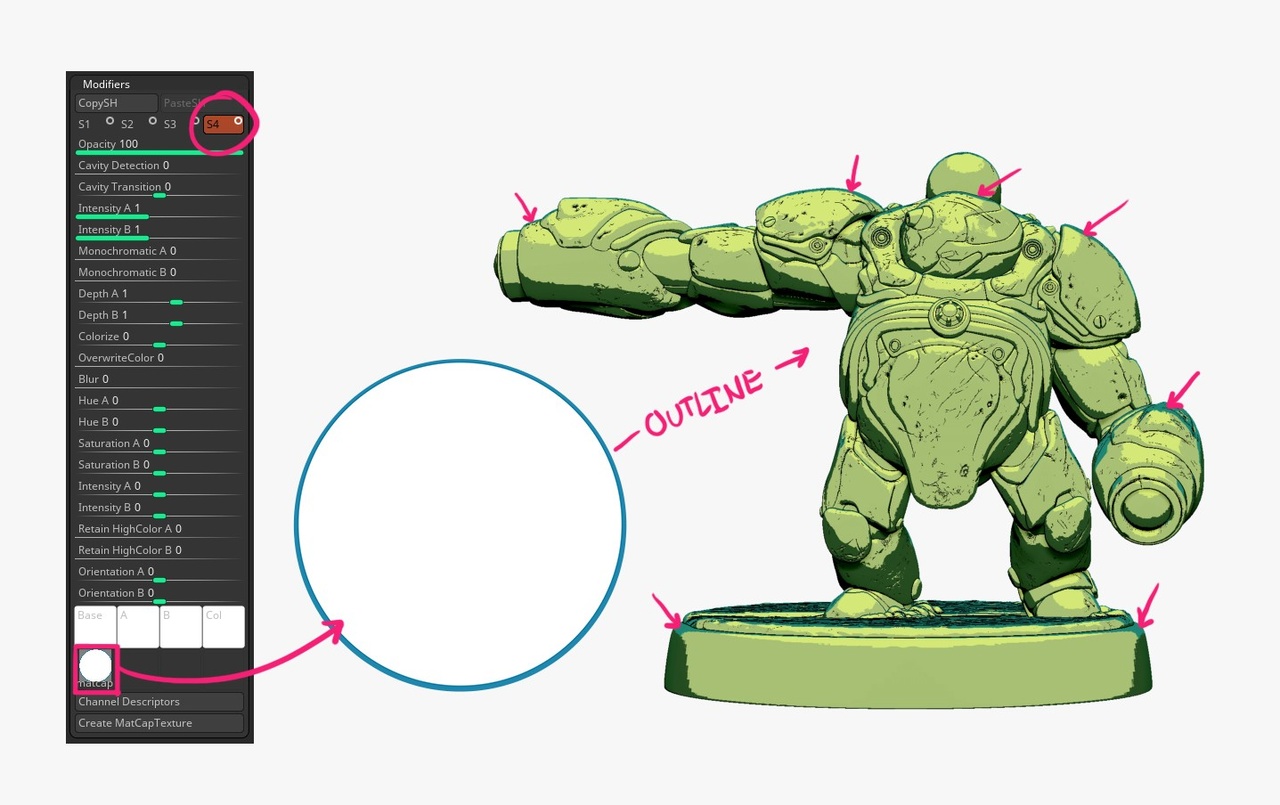
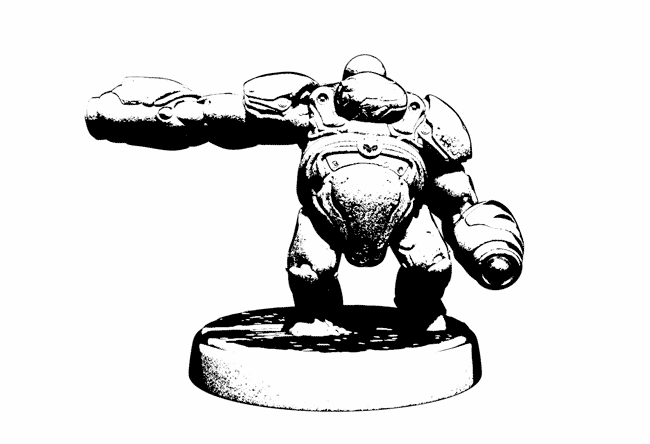
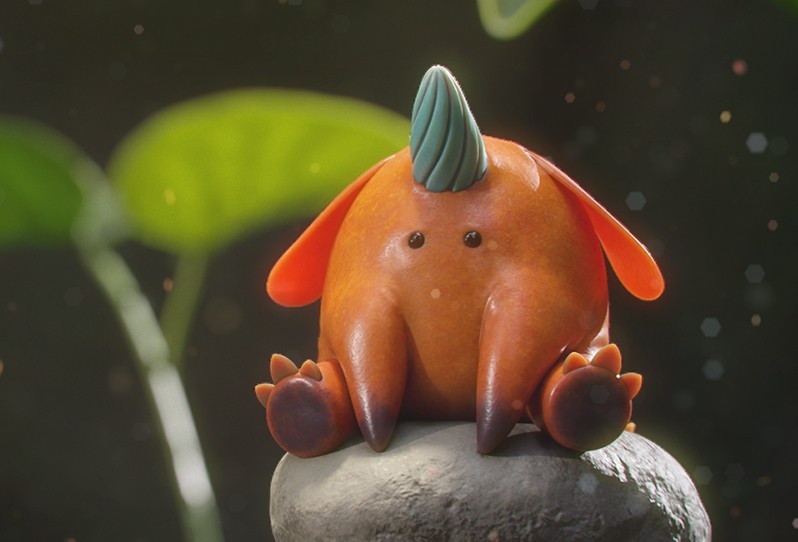
Alright, let’s begin with a little tip I wanted to give you about the ZBrush comic shader I shared last week. This is not today’s tip by the way haha... just something extra I thought would be useful since the material has had such a good response.
Once you load the Material in ZBrush, you can open up the modifiers of the material and update the image used in the shader 3 and 4 to really customise the look of the comic material. For instance, if you replace the image on the MatCap of S3, with something with colour you’d get this: |
| | | |
| | | |
| | | |
| | |
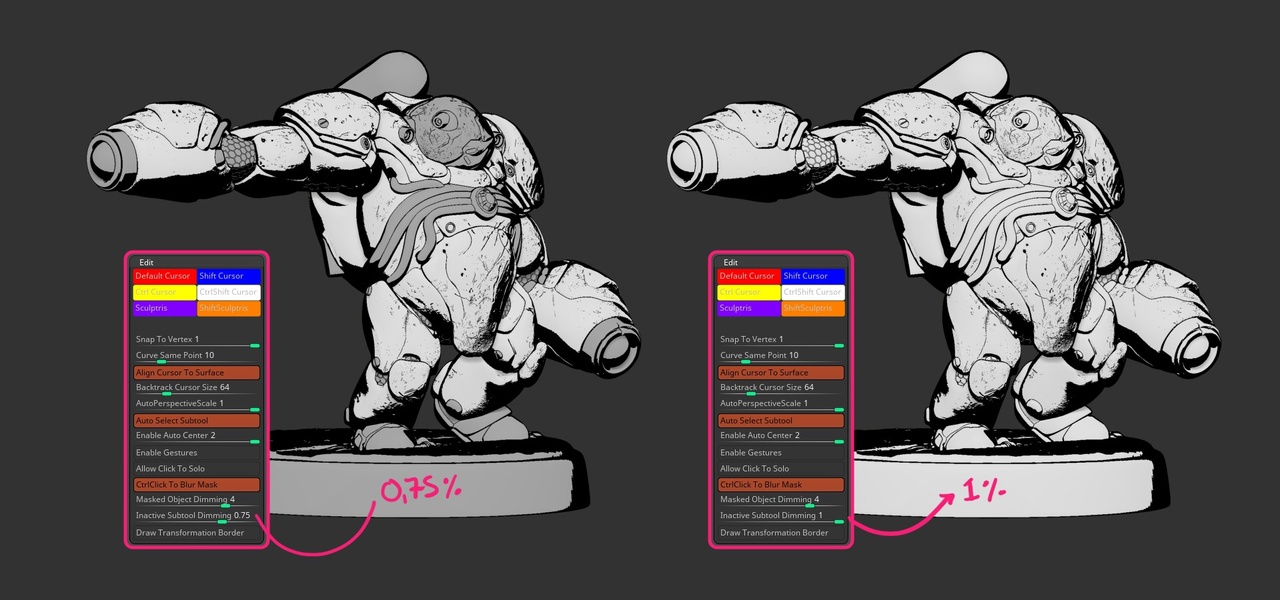
Today’s tip on productivity with ZBrush subtools
For today’s tip, I wanted to share something that is not super exciting but I think is one of those features that can really help your workflow and make you more productive over time. I’m talking of course, about dealing with subtools in ZBrush... so here are 2 very handy tips and 1 that I learned recently.
Dimming:
The first one is subtool Dimming and it is a nice segway from the comic material stuff I mentioned earlier to this series of tips.
When you have more than one subtool, ZBrush automatically makes the selected subtool brighter than the other subtools so that you can easily identify the one you are working on. This is especially obvious with the comic material where the selected subtool looks white and the rest are just a light grey colour.
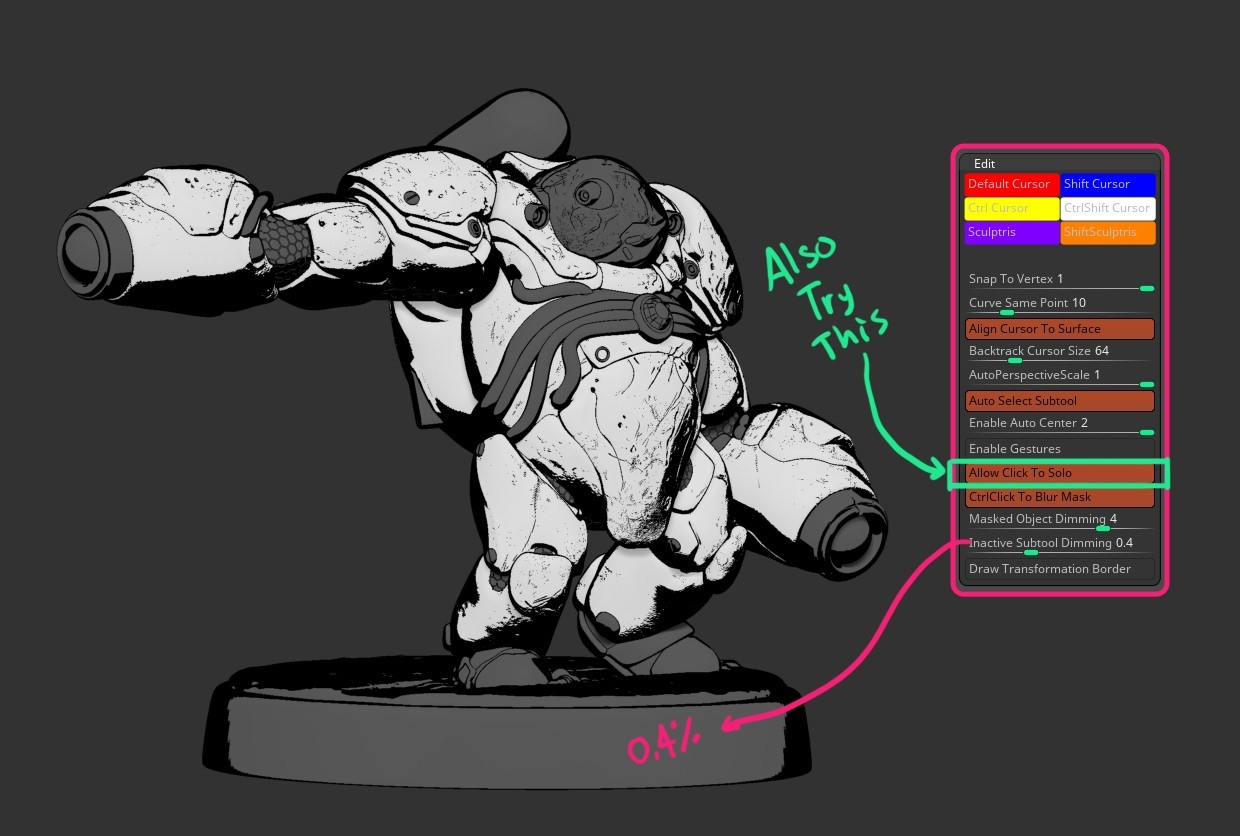
From the Preference palette, you can expand the ‘Edit’ subpalette and change the ‘Inactive subtool Dimming’ slider (think about it as an opacity slider). The default is ‘0.75’ but you can change it to ‘1’ and all subtools will look the same: |
| | | |
| | | |
|